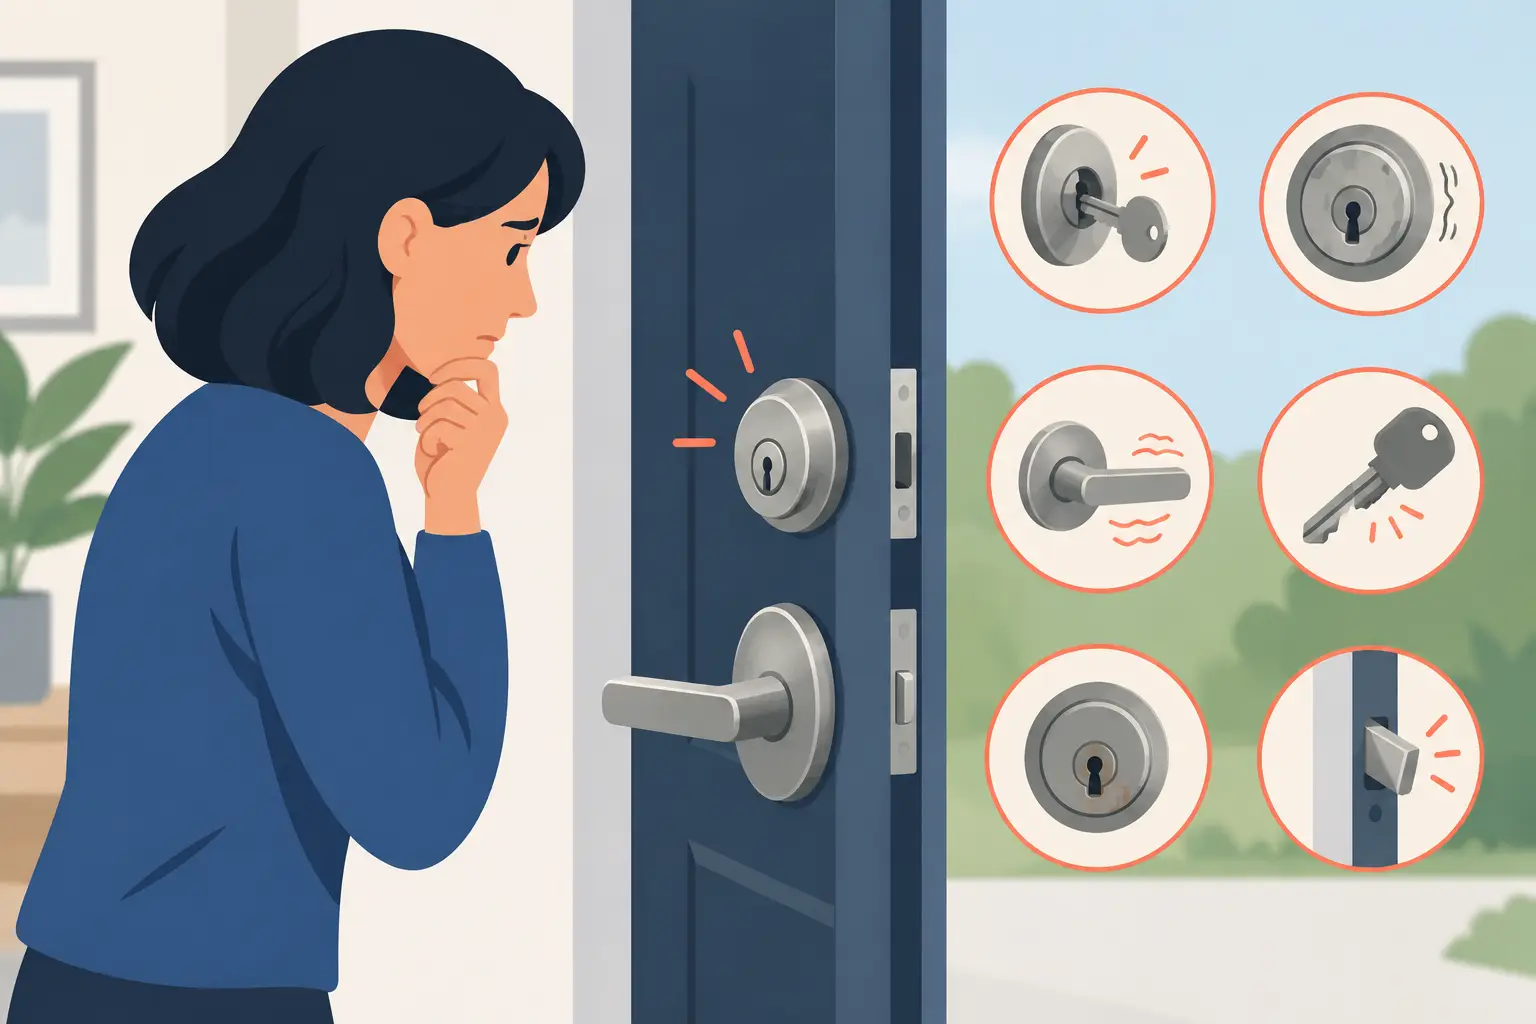

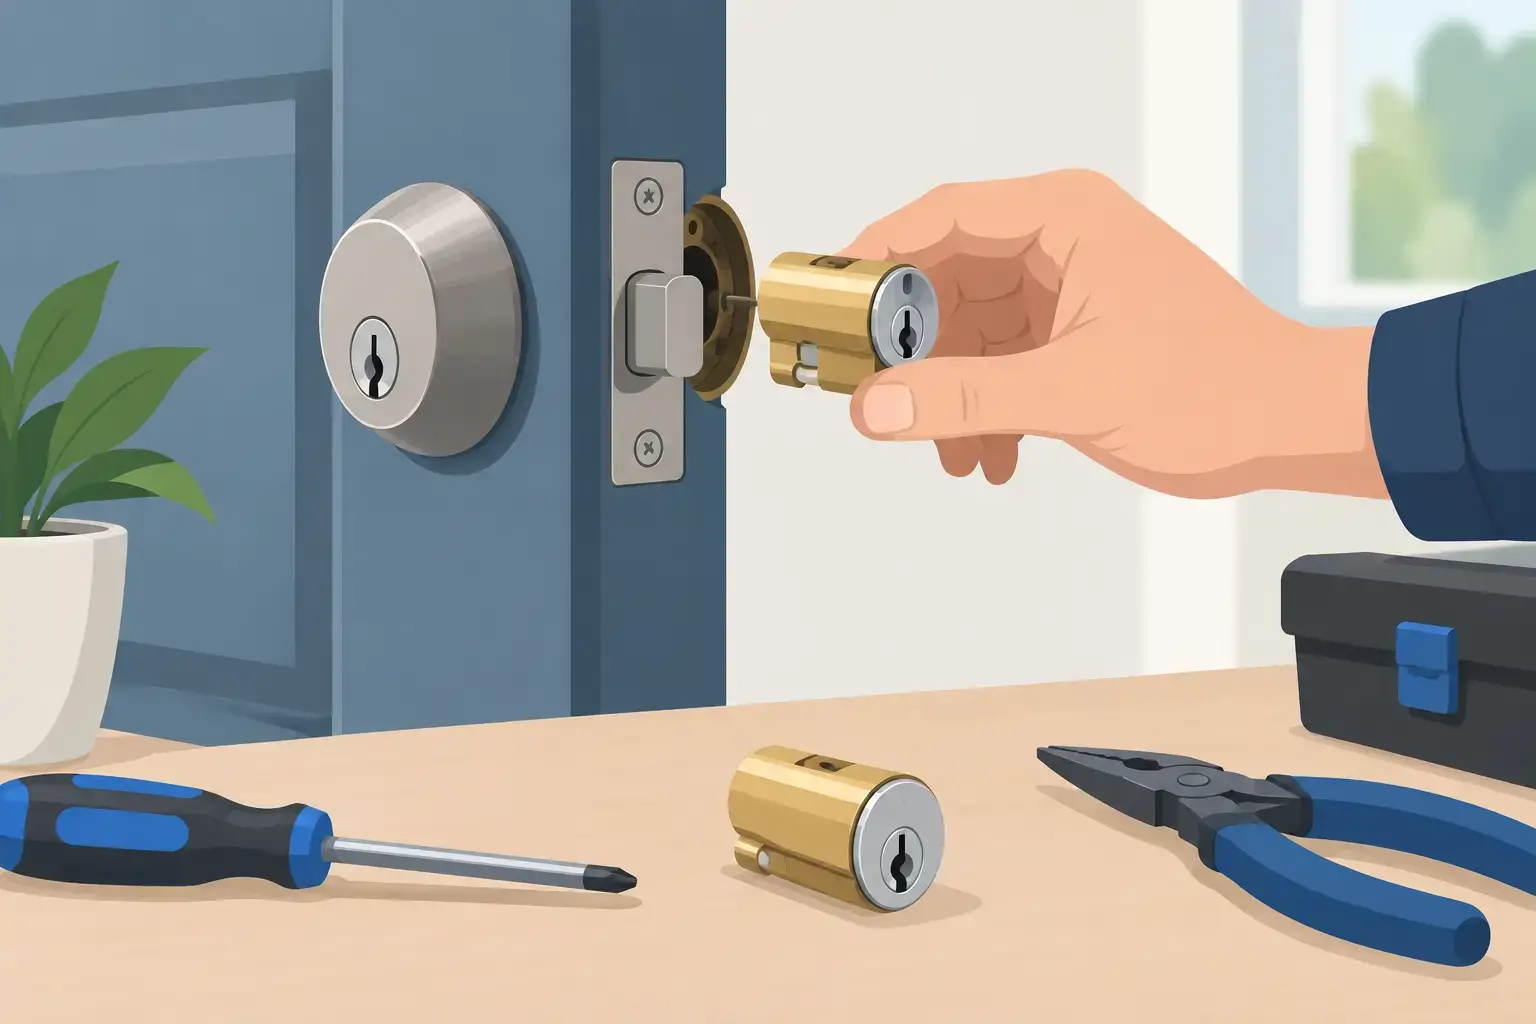
A deadbolt can look fine from across the room while its cylinder is worn, damaged, or no longer secure. Knowing how to replace a deadbolt cylinder can restore reliable key access without replacing the entire lock – but only if the new cylinder matches the lock and the deadbolt still operates correctly.
For a standard residential deadbolt, this is often a manageable repair. If the lock was forced during a break-in, the bolt sticks, the door or frame is damaged, or you are dealing with a high-security, keypad, or commercial lock, a professional inspection is the safer move. A replacement cylinder does not fix hidden damage inside the bolt mechanism or door.
Know What You Are Replacing
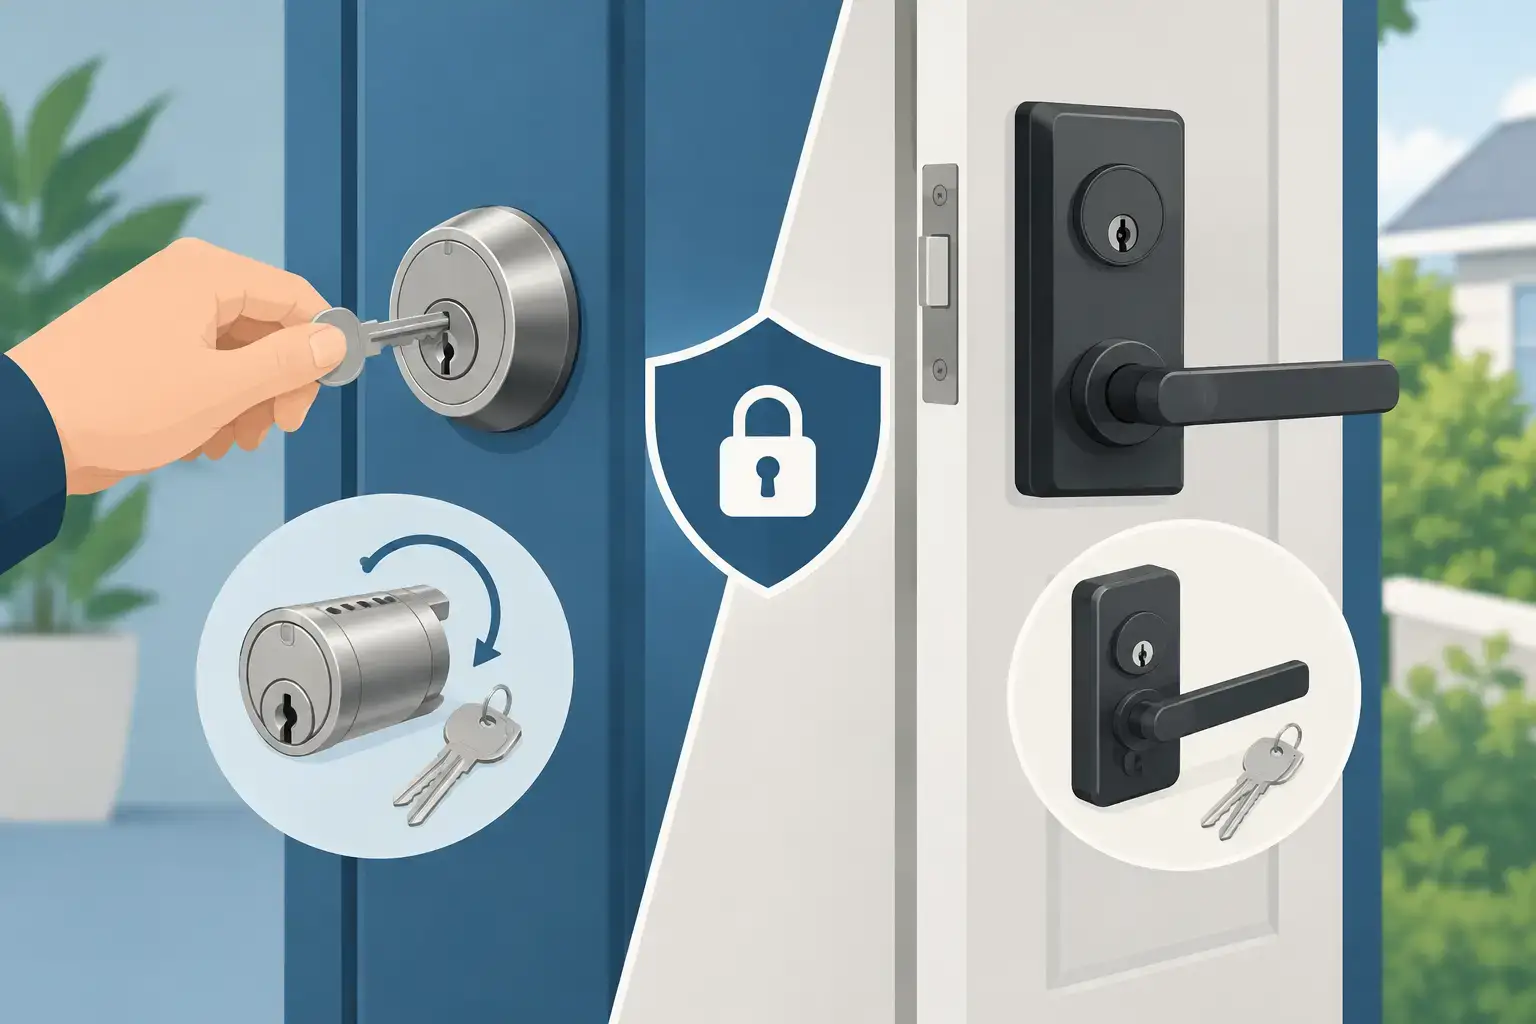
The cylinder is the keyed part of the deadbolt. It is the round component on the exterior side of most single-cylinder deadbolts where you insert the key. Turning the key rotates a tailpiece inside the door, which moves the deadbolt in and out of the frame.
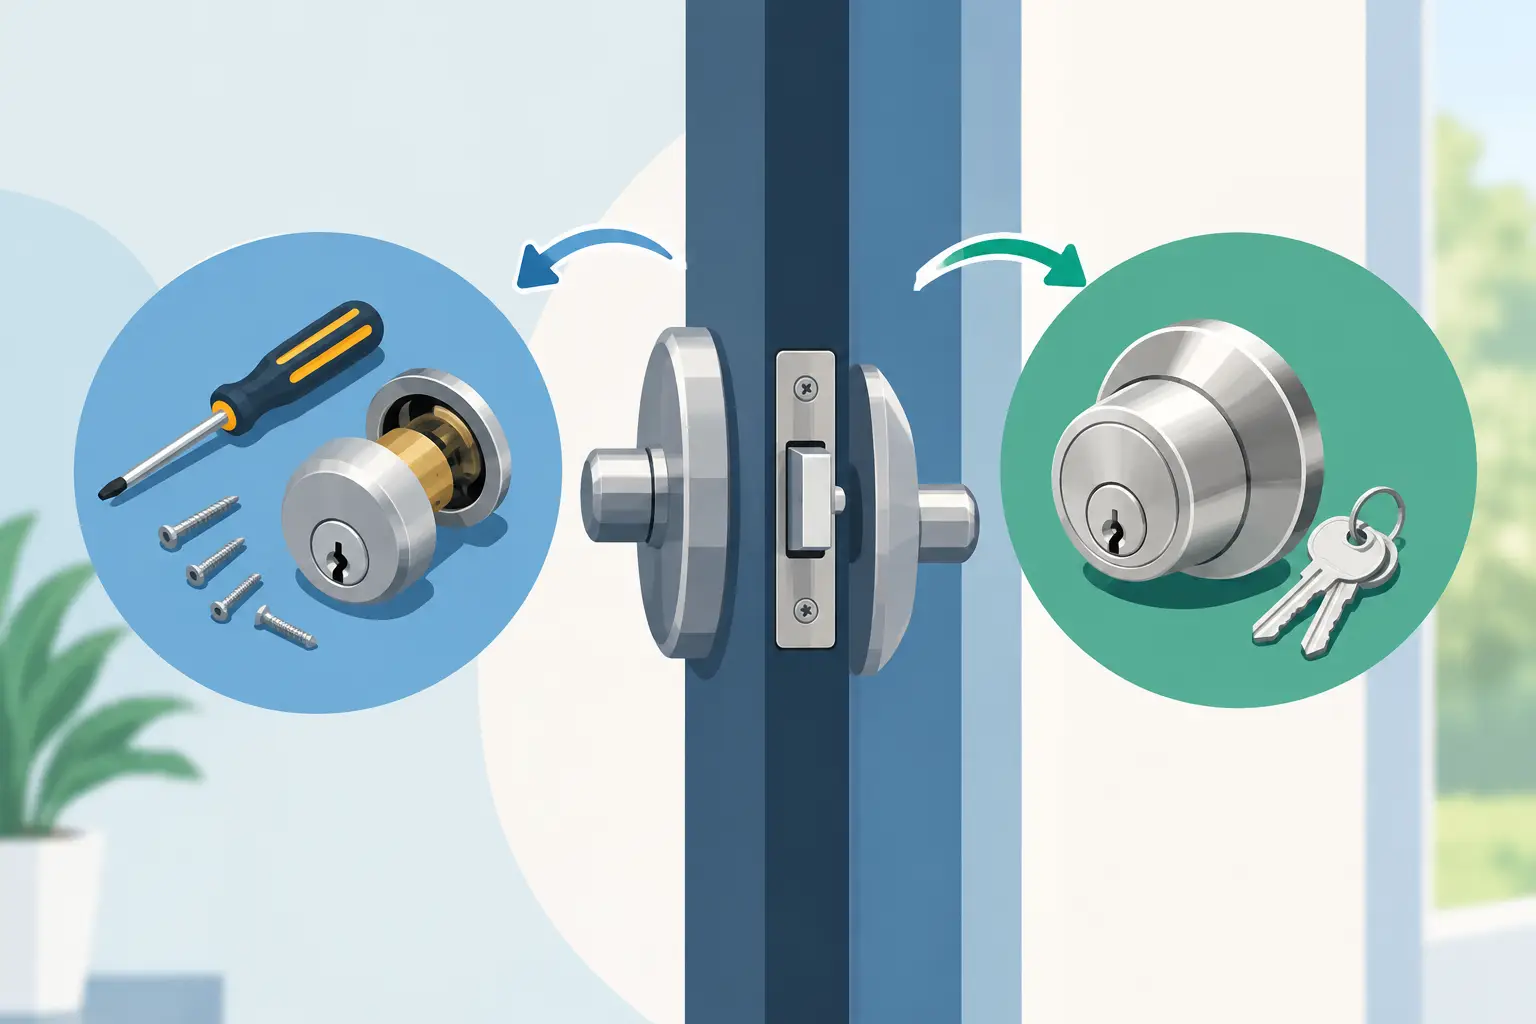
That is different from replacing the entire deadbolt. A full replacement includes the exterior keyed cylinder, interior thumb turn, latch or bolt assembly, mounting hardware, and often the strike plate. Replacing only the cylinder makes sense when the lock body is still in good shape but the keyway is damaged, the key has been lost, or you need a different key combination.
Before buying anything, identify the lock type. Most homes use a cylindrical deadbolt with a key cylinder outside and thumb turn inside. Double-cylinder deadbolts require a key on both sides. Mortise locks, interconnected handlesets, smart locks, and many commercial locks use different parts and procedures. Do not force a standard replacement cylinder into a lock it was not made for.
When Replacing the Cylinder Is the Right Fix
A cylinder replacement can be a practical option after a lost key, a key that has been copied too many times, a damaged keyway, or an attempted break-in that affected only the outside key cylinder. It can also be useful when you want to match a new key to other compatible locks in your home.
However, replacement is not always the best value. Rekeying changes the internal pins so old keys stop working while the existing cylinder stays in place. If the cylinder is in good condition and you simply need to block an old key, rekeying may be faster and less expensive than installing a new cylinder.
Replace the whole deadbolt when the bolt does not extend smoothly, the thumb turn is loose, the mounting screws no longer hold, the lock has visible cracks, or the door frame has been compromised. Security depends on the entire assembly, not just the part where the key goes.
Tools and Parts You Will Need
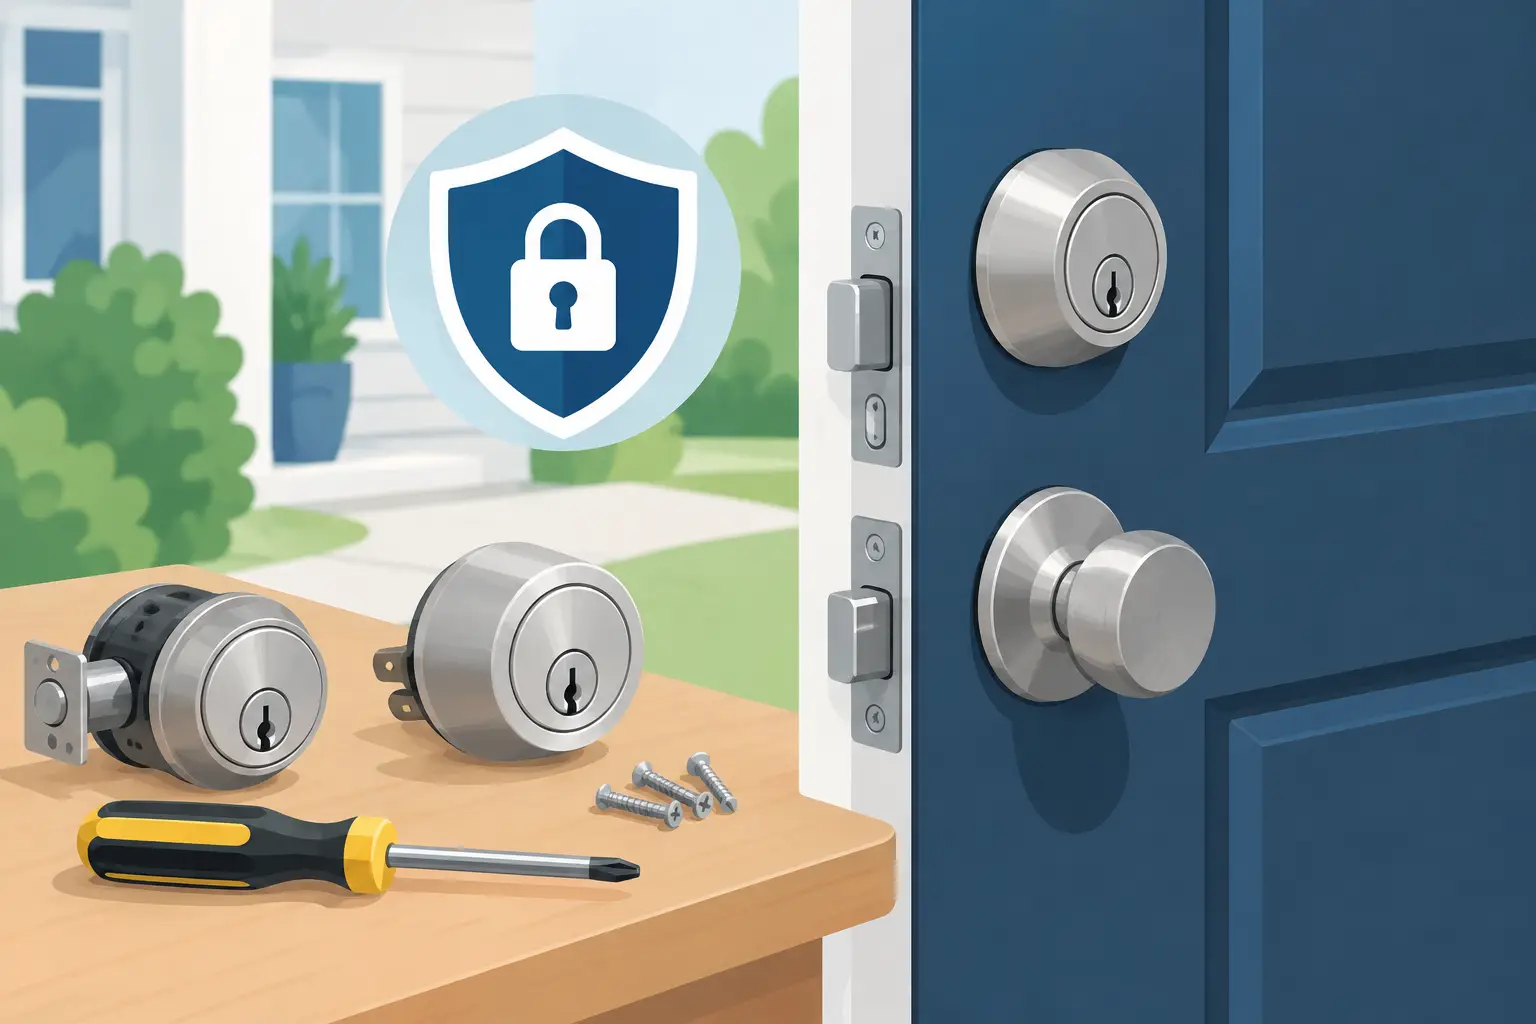
For most standard deadbolts, you need a Phillips-head screwdriver and a compatible replacement cylinder or replacement deadbolt kit. Keep the new key nearby. A small flat-head screwdriver can help with some retaining clips, though not every lock uses one.
The important part is compatibility. Cylinder length, tailpiece shape, keyway, lock brand, and finish all matter. Bring the old cylinder to a locksmith supply counter when possible, or take clear photos of both sides of the lock and the tailpiece before purchasing a part. A cylinder that looks similar may not engage the bolt correctly.
Work with the door open from start to finish. This is more than a convenience. If you install the cylinder incorrectly and close the door, you can create a lockout or leave your home unsecured until help arrives.
How to Replace a Deadbolt Cylinder on a Standard Lock
1. Open the door and extend nothing yet
Open the door fully and leave it open. Keep the deadbolt retracted before taking the lock apart. This gives you room to test the mechanism repeatedly and avoids trapping yourself outside if something does not line up.
If you are replacing a double-cylinder deadbolt, keep both keys available. Never leave a key inserted on the opposite side where it could prevent proper removal or installation.
2. Remove the interior thumb turn plate
Look at the inside portion of the deadbolt. Most standard models have two long mounting screws holding the interior thumb turn assembly to the exterior cylinder. Remove these screws while supporting the exterior side with one hand so it does not drop or scratch the door.
Pull off the interior thumb turn and its cover plate. Set the screws aside where they will not roll away. You should now be able to see the tailpiece from the exterior cylinder passing through the center of the bolt mechanism.
3. Take out the old exterior cylinder
Gently pull the exterior cylinder away from the outside face of the door. Depending on the deadbolt design, you may need to rotate the key slightly to align the tailpiece for removal. Do not pry hard against the door finish or twist the cylinder aggressively.
Inspect what you removed. Check the tailpiece for bends, wear, or signs it was cut or forced. Also inspect the mounting holes and the deadbolt mechanism inside the door. If the tailpiece is damaged or the bolt assembly feels loose, replacing the cylinder alone may not solve the problem.
4. Compare the new cylinder before installing it
Place the old and new cylinders side by side. Confirm that the diameter, backset arrangement, tailpiece length, and tailpiece shape match. The new part should sit flat against the door without leaving a gap.
Some replacement cylinders include adjustable or breakaway tailpieces. Follow the manufacturer’s directions carefully before trimming or changing one. Cutting a tailpiece too short can prevent the deadbolt from operating. Leaving one too long can bind the interior assembly and make the key difficult to turn.
5. Install the new cylinder and align the tailpiece
Insert the new cylinder from the outside of the open door. Guide the tailpiece through the center opening in the deadbolt mechanism. Hold it in position while you reinstall the interior plate and thumb turn.
The tailpiece must sit in the correct orientation. On many common deadbolts, it passes vertically through the bolt mechanism, but designs vary. If the interior plate will not sit flush, stop and check the tailpiece rather than tightening the screws to force it into place.
6. Tighten the mounting screws evenly
Thread both mounting screws by hand first. Then tighten them a little at a time, alternating between screws so the lock stays centered. The interior assembly should be firm, but overtightening can distort the lock or cause the key and thumb turn to bind.
Once installed, make sure the exterior cylinder sits straight and tight against the door. A loose cylinder is not just inconvenient. It can make the lock easier to damage and may indicate that the wrong hardware was used.
7. Test the lock before closing the door
With the door still open, test the key from outside and the thumb turn from inside several times. The bolt should extend and retract fully without sticking. Remove and insert the key again to make sure it turns smoothly.
Then slowly close the door and test the deadbolt with the door unlatched. Finally, test it with the door fully closed. The bolt should enter the strike plate without lifting, pushing, or pulling the door. If you have to force the door into position for the bolt to lock, the issue may be the strike plate or door alignment rather than the cylinder.
Common Problems After Cylinder Replacement
A key that turns but does not move the bolt usually points to an incorrectly positioned or improperly sized tailpiece. Remove the interior hardware and check the alignment before using force.
If the key is difficult to turn only when the door is closed, look at the strike plate and door alignment. Seasonal Minnesota temperature swings can cause doors and frames to shift. The cylinder may be working perfectly, while the bolt is rubbing against the strike plate.
If the new key works outside but the thumb turn will not operate, the interior assembly may be installed upside down or the tailpiece may not be seated in the bolt mechanism. If the lock is loose, remove the trim and confirm the mounting screws are the correct length and properly tightened.
Never spray heavy oil into a new cylinder to solve a sticky key. It can collect dirt and create more problems later. If a correctly matched cylinder still binds, stop using it and have the lock checked.
When to Call a Locksmith Instead
Call for professional help if the lock was kicked, drilled, pried, or otherwise damaged during a break-in attempt. You should also call if the key broke inside the lock, the deadbolt will not retract, the door will not close securely, or you cannot identify the correct replacement part.
For rental properties, get approval from the landlord or property manager before changing locks. Business owners and facility managers should be especially cautious about changing cylinders without reviewing master-key systems, employee access needs, and fire or building requirements.
Free Eagle Locksmith provides mobile locksmith service across Minneapolis, Saint Paul, Coon Rapids, and the surrounding Twin Cities area for damaged locks, rekeying, lock replacement, and urgent security concerns. A prepared technician can identify whether your lock needs a cylinder, a full deadbolt replacement, or a door and strike adjustment that protects the property properly.
A deadbolt should turn easily, lock firmly, and give you confidence every time you leave. If yours does not, keep the door open, avoid forcing the key, and get the right repair before a small lock problem becomes an access or security emergency.